
This chapter covers everything you need to get Community Pricing installed and running on your WooCommerce store — from system requirements to your first campaign configuration.
0.1 System Requirements
Before installing the plugin, make sure your hosting environment meets the following minimum requirements:
| Component | Minimum Version | Notes |
|---|---|---|
| WordPress | 6.8 or higher (6.8) | Always keep WordPress updated |
| WooCommerce | 8.0 or higher (8.0) (enforced by PRO) | Includes Action Scheduler — required for automated refunds. Minimums are enforced at activation (WordPress, WooCommerce and PHP). Values above are the declared requires; tested versions come from the hub release card. |
| PHP | 8.0 or higher (8.0) | QA-verified up to WordPress 7.0.2 / WooCommerce 10.9. PHP 8.1+ recommended. |
0.2 Free Version — Installation
The free version of Community Pricing is available directly from the official WordPress.org plugin repository.
- Log in to your WordPress admin panel.
- Go to Plugins → Add New Plugin.
- In the search box, type “Community Pricing”.
- Locate the plugin by MMC Plugins and click Install Now.
- Once installed, click Activate.
[IMG 0.2 - WordPress plugin search screen showing Community Pricing result]
0.3 PRO Version — Installation
The PRO version is distributed exclusively via communitypricingpro.com and is installed by uploading a ZIP file.
- Log in to your account at communitypricingpro.com and go to your Downloads area.
- Download the latest
wc-community-pricing-pro.zipfile. - In your WordPress admin panel, go to Plugins → Add New Plugin → Upload Plugin.
- Click Choose File, select the downloaded
.zipfile, then click Install Now. - Once installed, click Activate Plugin.
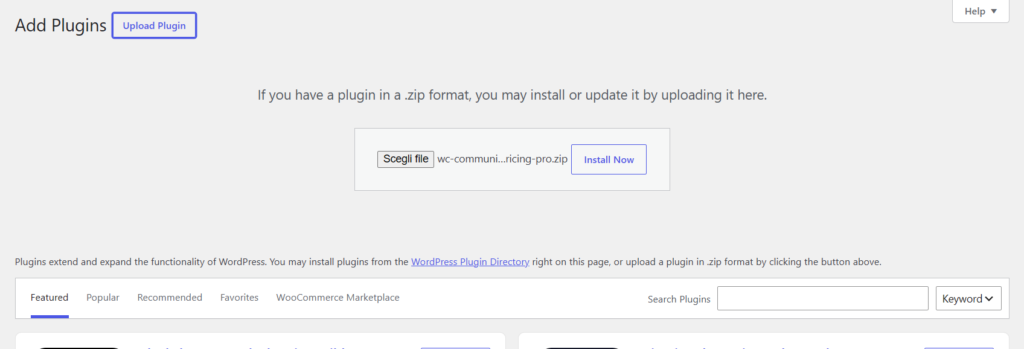
0.3 - WordPress plugin upload screen with ZIP file selected0.4 The Setup Wizard (PRO only)
When you activate Community Pricing PRO for the first time, the plugin automatically redirects you to the Setup Wizard — a guided 7-step process to configure the essential settings.
Step-by-Step Walkthrough
1. Welcome
The onboarding screen introduces the key benefits of the PRO version (marketing overview). System requirements are documented in §0.1 — the Welcome step does not run a live compatibility check.
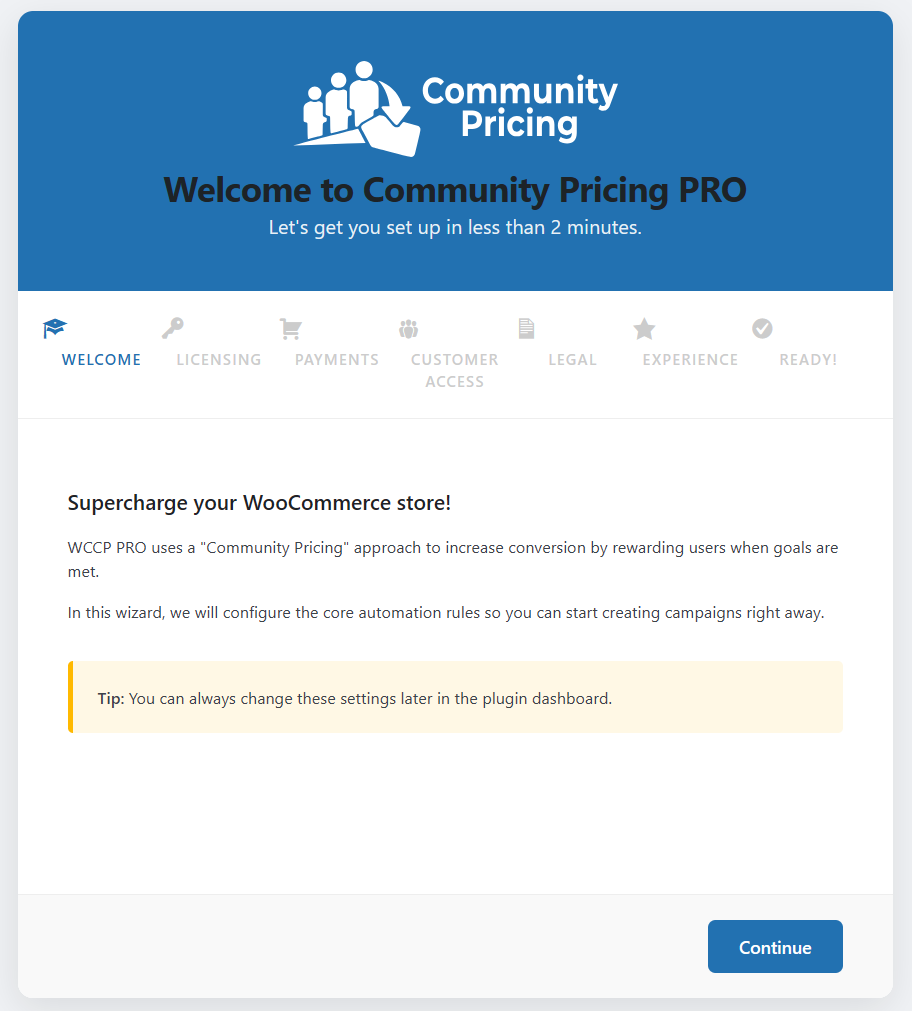
0.4 - Setup Wizard welcome screen2. Licensing
Enter the license key obtained from your personal downloads area on communitypricingpro.com. Verifying your key unlocks core PRO functionalities (unlimited tiers, automated refunds, and partner system) and enables one-click automatic updates directly from your plugins dashboard.
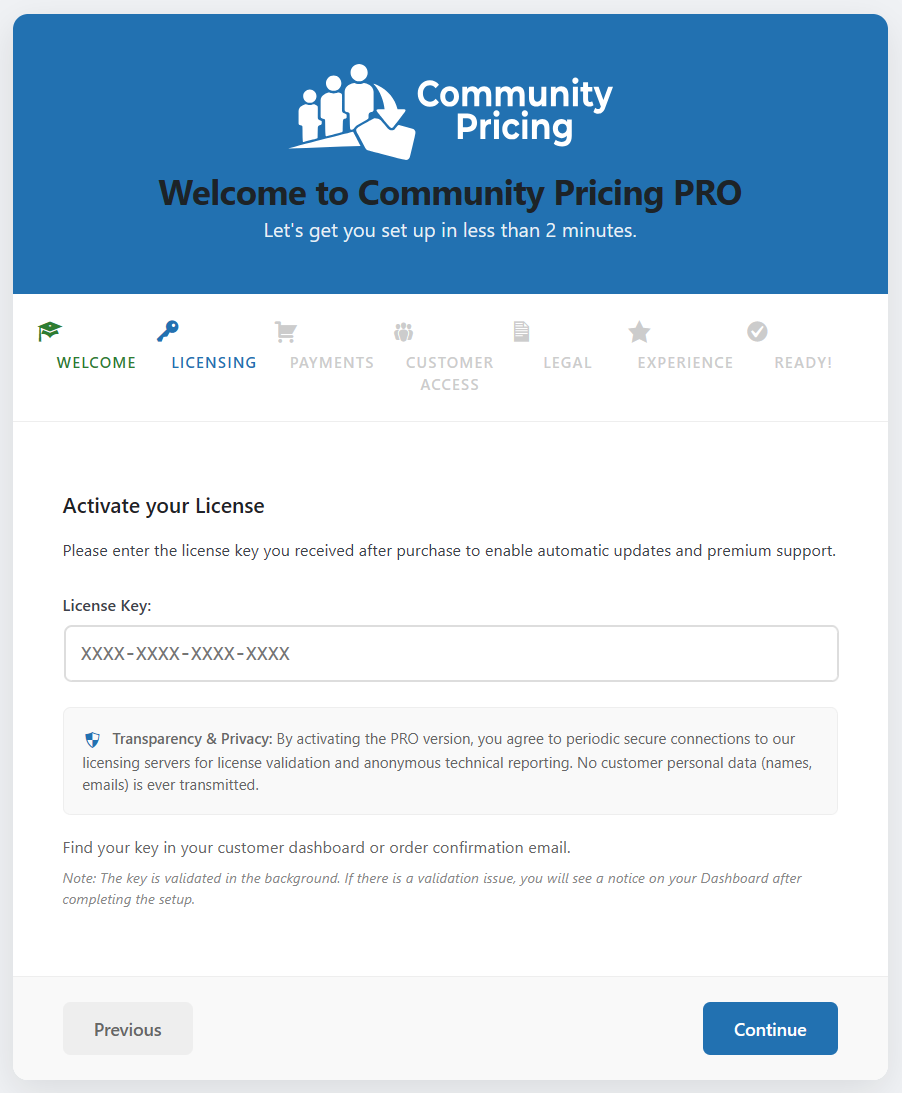
0.4a - Setup Wizard Licensing screen3. Payments (Refund Method)
Configure how customers receive their shared discount rewards when a threshold is met. You can choose between two methods:
- Automatic Gateway Refund — Automatically credits the price difference back to the customer’s credit card or PayPal account. Note: requires compatible gateways.
- Store Credit (Wallet/Coupon) — Generates a unique, one-time discount coupon matching the exact savings and sends it to the customer via email for their next purchase. Recommended to support all payment methods.
You can also enable Retroactive Price Update on this screen. When checked, the system will retroactively update the pricing of pending or unpaid orders placed earlier in the campaign when a new discount threshold is hit, ensuring a consistent pricing experience for all early buyers.
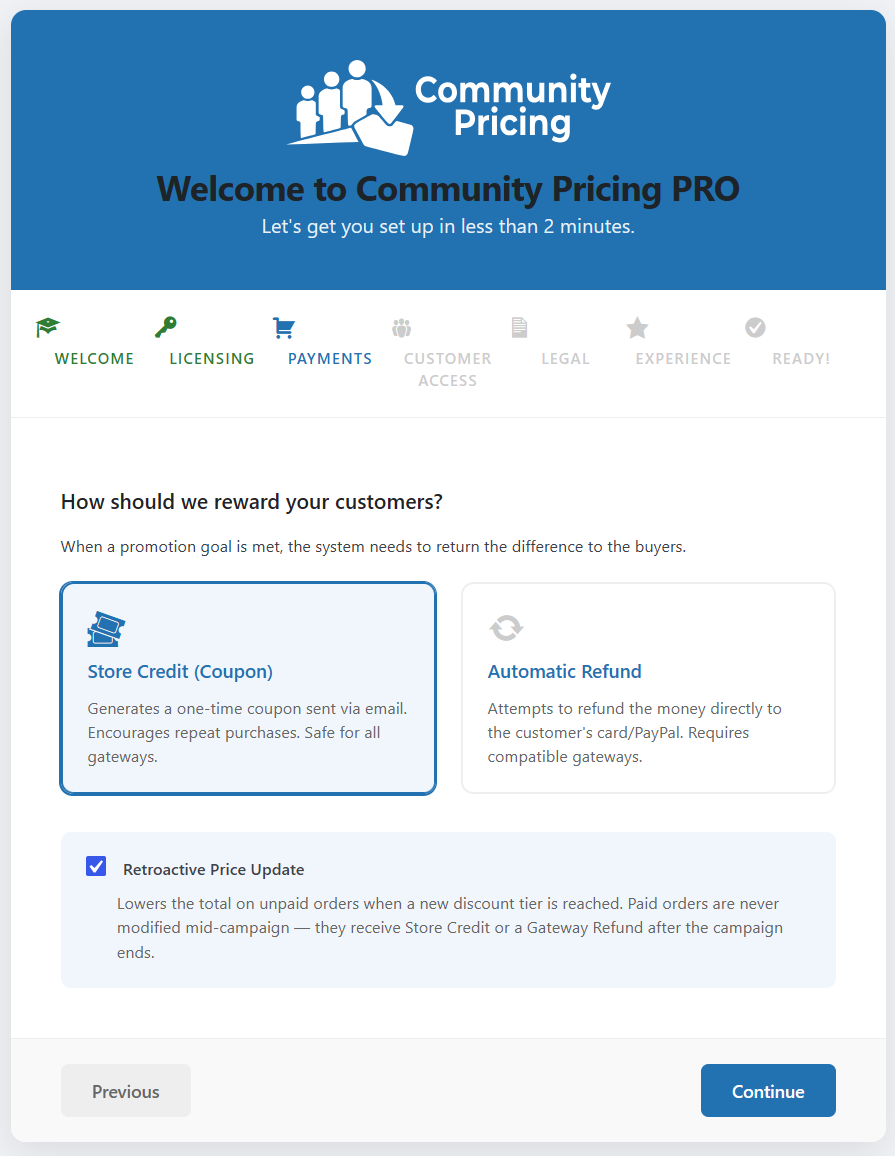
0.4b - Setup Wizard Payments screen4. Customer Access
Choose how shoppers track community rewards, matching your WooCommerce checkout setup. You can change this later in Settings.
- Account-centric — customers use a WooCommerce account; community orders appear in My Rewards and in order details inside My Account. Best when guest checkout is disabled.
- Guest-friendly — guests may checkout without an account; rewards go by email and status via the secure order link. My Rewards is available after login with the same billing email.
If you pick Account-centric, the wizard can optionally align WooCommerce guest-checkout settings. Details on My Rewards states: Chapter 9 and Chapter 2 §2.13.
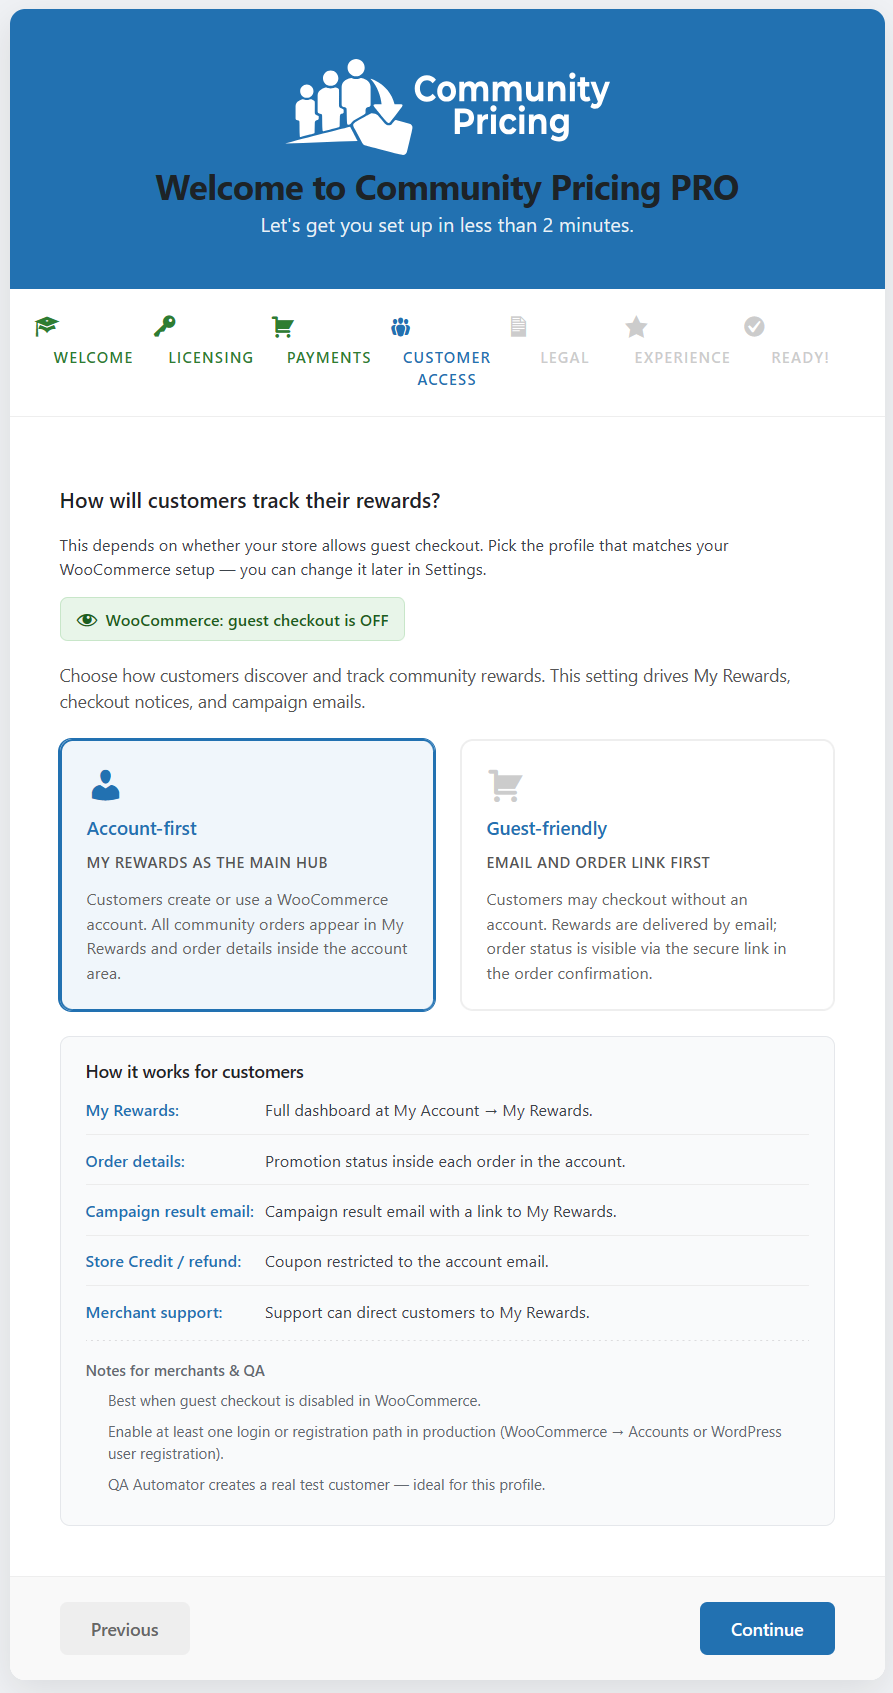
0.4ca - Setup Wizard Customer Access screen5. Legal
The wizard confirms that a draft Terms & Conditions page for community promotions was generated. Review and publish it according to your local laws — it is a protective template, not legal advice.
Configure the Refund Safety Guard and Return Policy Notice under Settings — see Chapter 2.
If the Legal Information page (Terms) is not assigned — or Referral is ON and the Partner Guide page is missing — WordPress admin shows a notice until you configure them under Settings. The Partner Area always shows a guide entry: either a working link or a clear “not available” message (it is never silently hidden).
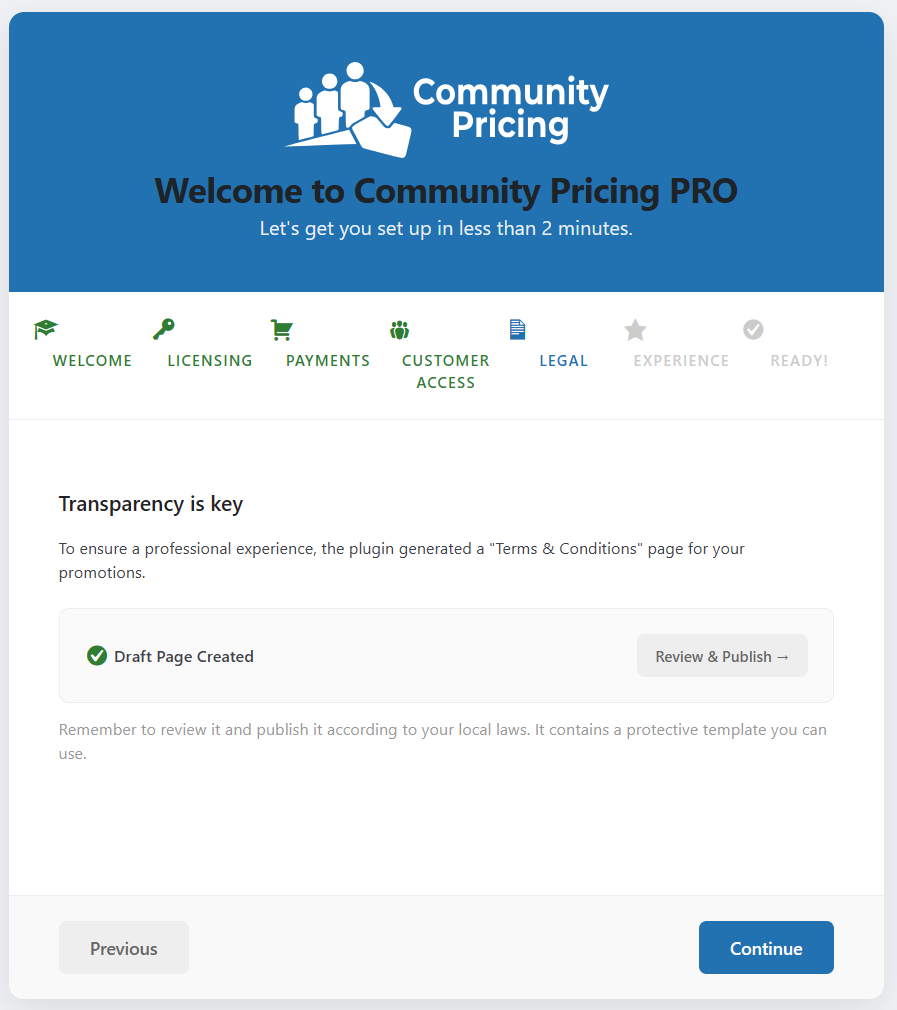
0.4c - Setup Wizard Legal screen (Terms draft)6. Experience (Demo Import)
Optionally, import standard demo files to see the plugin in action immediately. Enabling this option creates a pre-configured promotional product and a showcase page containing the live shortcode, allowing you to test the checkout flow without manual setup.
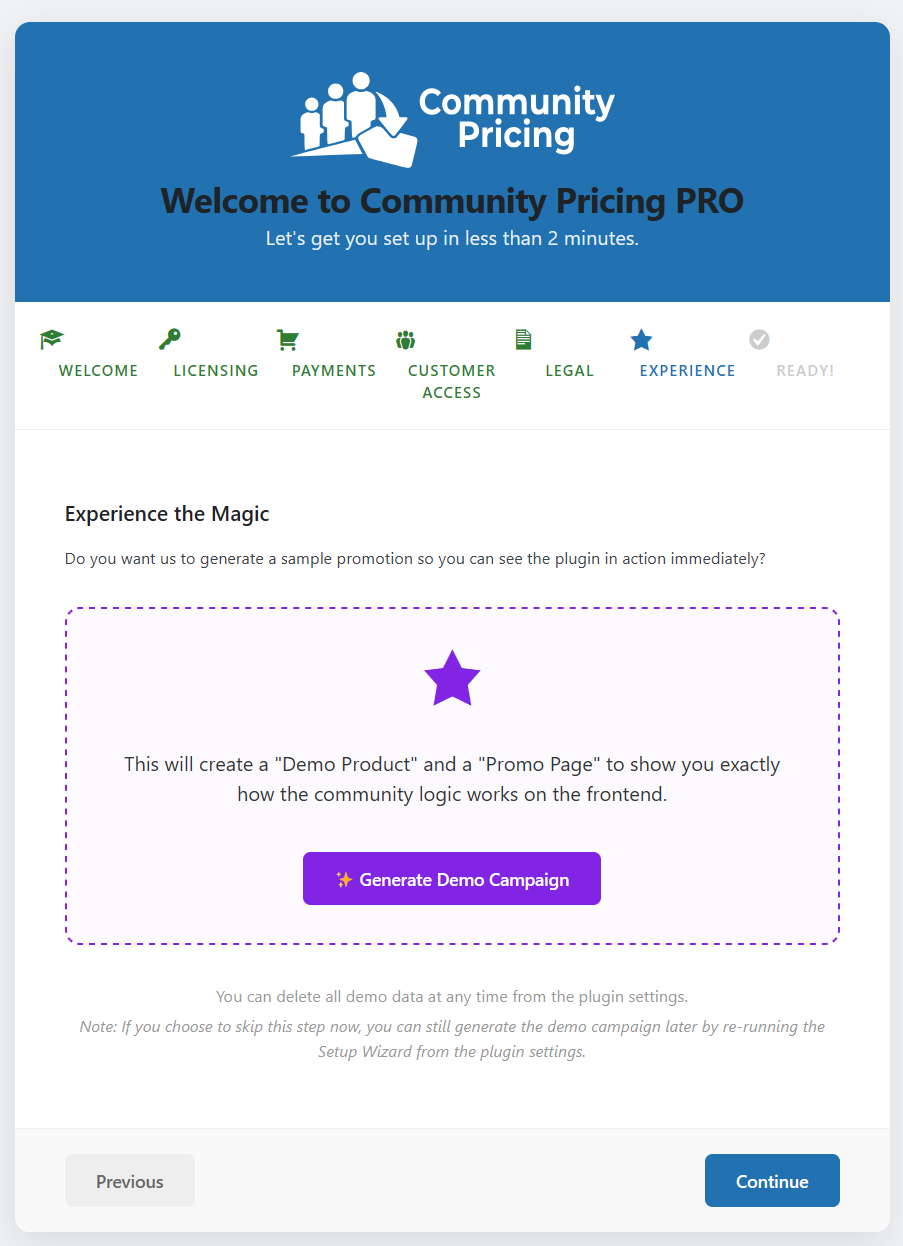
0.4d - Setup Wizard Experience screen7. Ready!
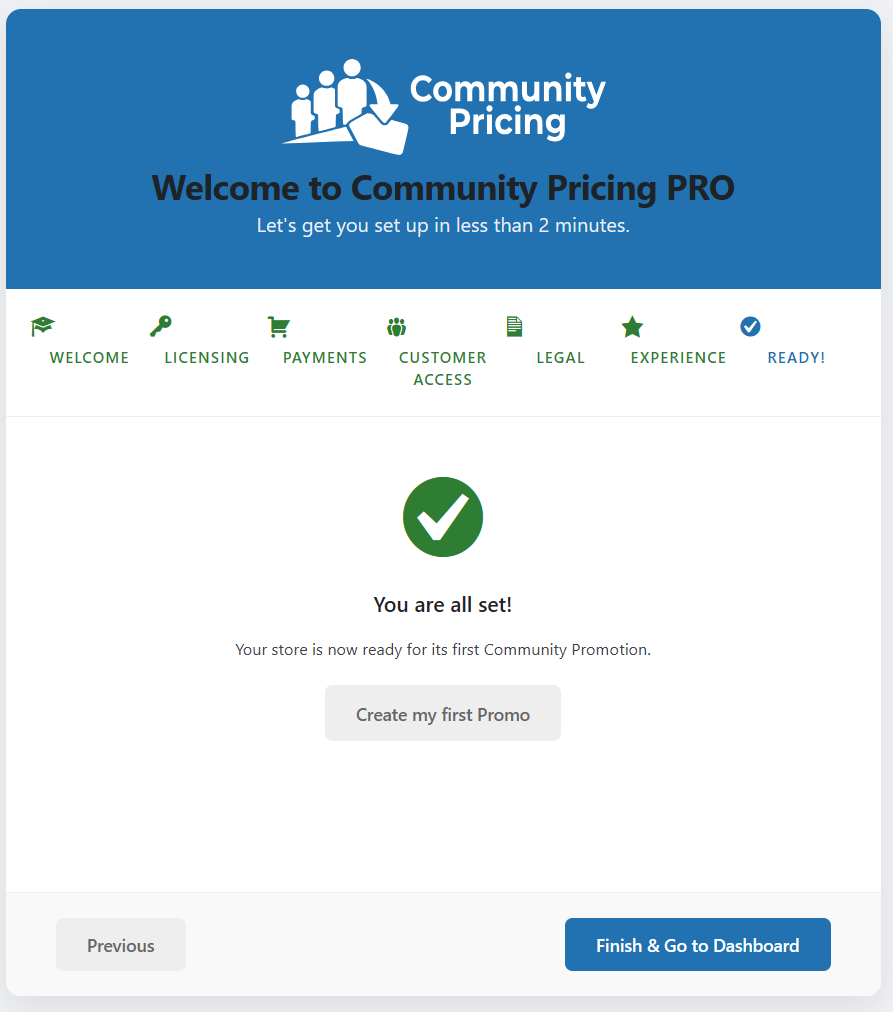
The onboarding is complete. This final screen offers quick actions such as Create first Promo and Finish (exact CTAs may vary slightly by build).
0.5 Where to Find the Plugin After Activation
After activation, Community Pricing adds its own dedicated menu entry inside WooCommerce.
Navigate to: WooCommerce → Community Pricing
Available Sections
- Overview — Dashboard with active campaigns summary and quick stats.
- Promotion Hub — Full list of all campaigns with status, sales progress, and dispatch controls.
- Settings — Global configuration: order statuses, refund method, automation defaults, referral system, legal notices.
- Global Log — Chronological log of all sales events, refunds, and errors with CSV export.
- Tools & Sync — Retroactive sync, demo data cleanup, diagnostics, and Data & uninstall (2.9.15+): choose uninstall policy (default Keep all data on uninstall), or purge now. See FAQ 9.18.
- Referral & Partner — Affiliate system configuration: commission rates, redemption threshold, cookie duration.
- QA Automator — Built-in 5-step testing suite that creates real WooCommerce objects to validate plugin flows end-to-end.
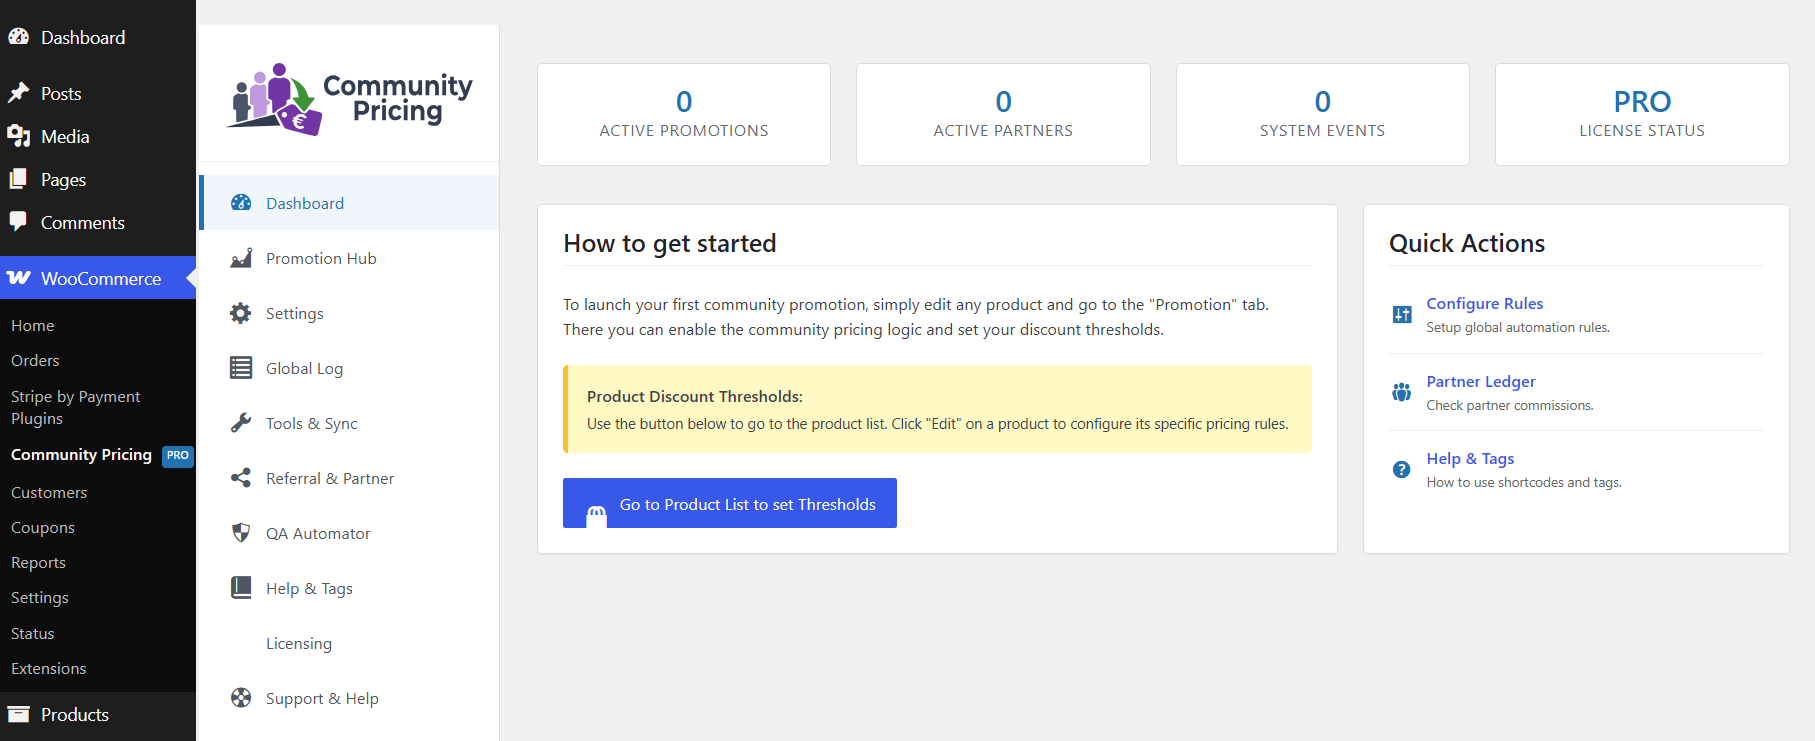
0.5 - Community Pricing admin panel with tab navigation visible0.6 Recommended reading path (after install)
- Chapter 1 — Mode A: live price vs cart projection.
- Chapter 2 — eligible statuses, compensation method, Safety Guard / Manual Dispatch.
- Chapter 3 — first product campaign + schedule preview.
- What’s New in 2.9 — lifecycle lock, Global Log, privacy export/erase.
Smoke-test a campaign with QA Automator (Chapter 7) before going live with gateway refunds — run Test Gateway Readiness in Settings (also Chapter 2).